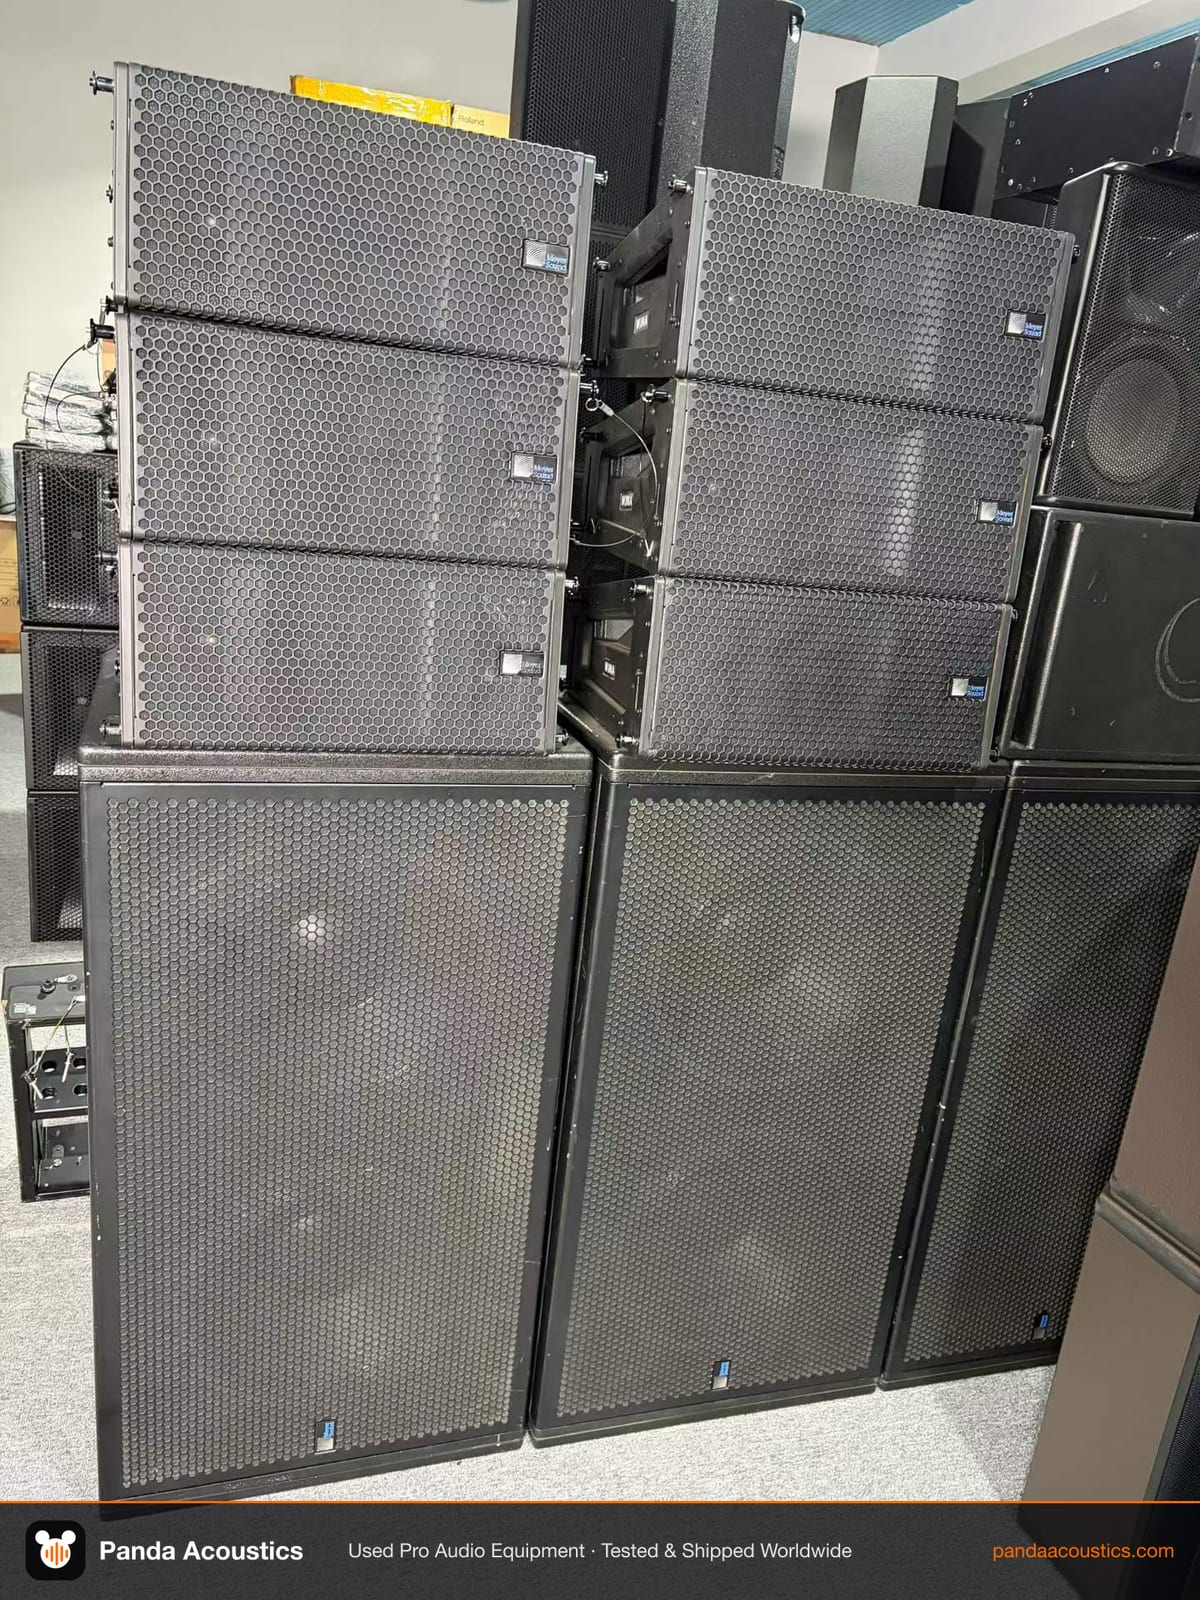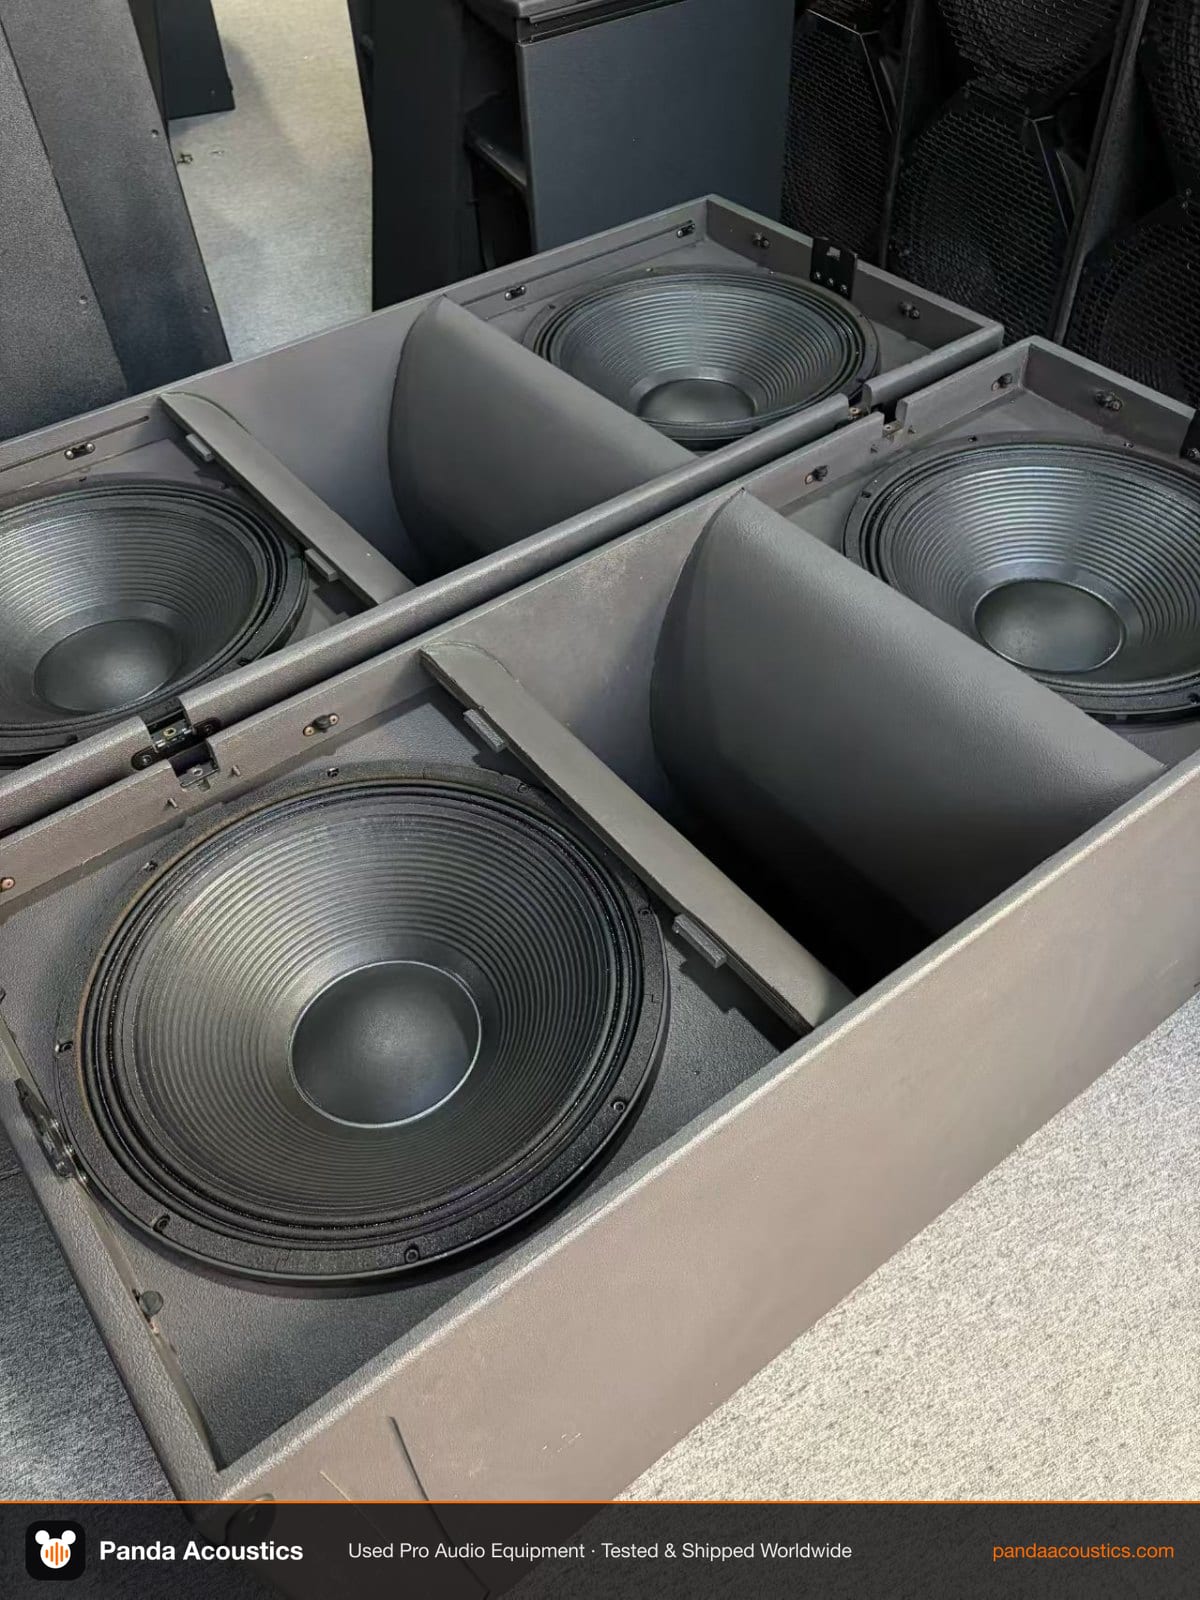
Buying used subwoofers in volume is a calculated risk. The seller's photos show a black box; they do not show a cooked voice coil, a cracked magnet, or a cabinet that has been dropped. This guide is the routine we use when checking used subs before they go into stock, and it is the routine you should run yourself or ask a supplier to run on camera.
You do not need a lab. You need a signal source, an amplifier you trust, a multimeter, basic tools, and enough time to check each cabinet properly. Skipping steps to move faster is how buyers end up with a container of dead boxes.
Step 1: Physical inspection before any power
Start with the cabinet unpowered. Push the cone gently and evenly with two fingers. Movement should be smooth and silent. A scraping or gritty feel means the coil is rubbing the gap, usually from overheating or a bent frame. Listen for a click at the end of travel, which can indicate a loose former or a damaged spider.
Look at the surround. Foam surrounds rot and crack; rubber surrounds can tear or separate from the cone edge. Check the cone itself for water damage, creases, or patches of glue that suggest a repair. Shine a light into the gap around the coil if the design allows it.
Inspect the cabinet seams, corners, and mounting points. A sub that has been dropped can have a warped baffle that looks fine from the front. Check that the woofer is mounted flat and that screws are not stripped in their holes. On powered subs, check the rear panel, connectors, and any fan openings for dust and corrosion.
Step 2: Measure the driver with a multimeter
Disconnect the woofer from the amplifier or crossover and measure DC resistance across the terminals. You are looking for a reading close to the driver's rated impedance, not exactly equal to it. A 4-ohm driver typically reads slightly lower at rest. A reading near zero means a shorted coil; a reading far above spec, or an open circuit, means a broken coil or lead.
Compare every cabinet in a batch. If you are buying eight units and one reads noticeably different from the rest, treat it as suspect. Consistent readings across a lot tell you more than any single measurement.
Step 3: Sweep it with real signal
Connect the sub to a known-good amplifier and play a slow sine sweep from roughly 30 Hz up to a few hundred Hz at moderate level. Do not start loud. Listen for buzzing, rattles, or a scratchy tone that appears only at certain frequencies. Those are mechanical faults that a quick thump test will miss.
Then play music with real low-frequency content, ideally tracks you know well. A healthy sub should sound tight and controlled. A sub that farts, distorts early, or has noticeably less output than its siblings has a problem. If you are auditioning a group, play the same track through each cabinet at the same settings so you can compare directly.
For powered subwoofers, test every input, every crossover setting, and the limiter behaviour. Turn the gain up gradually and confirm the protection circuit engages without cutting out permanently. Check that the fan runs and that the amp module does not overheat during a sustained low-frequency passage.
Step 4: Check the cabinet for air leaks and resonance
A sealed or ported cabinet that leaks will lose output and sound loose. Run a low-frequency tone and feel around the woofer gasket, port tube, handles, and rear panel for escaping air. Whistling from a port at high level can be normal, but a rattle from a handle or a loose terminal cup is not.
Tap the cabinet panels with a knuckle. A dull thud is fine; a hollow ring or a buzz suggests a loose brace or a delaminated panel. On touring-grade boxes such as the L-Acoustics KS28, rigging points and hardware should be checked for cracks and wear, because those parts carry load.
Step 5: Ask for documented test evidence
If you cannot inspect in person, ask the supplier to send video of the sweep test, the multimeter reading, and the cone movement for each serial number. A supplier who tests used gear will already have this footage. If they hesitate or send only glamour photos, that tells you something.
Ask how the subwoofers were stored and whether they were tested on arrival. For a broader checklist covering cabinets, rigging, and amplifiers, see our line array inspection checklist. For context on matching subs to the rest of a system, read the used PA subwoofer buying guide.
What to walk away from
Walk away from any sub with a rubbing coil, an open or shorted driver, a cracked magnet, or a cabinet with structural damage around the baffle or rigging. Recone kits and replacement drivers exist, but the cost and downtime change the deal. If a seller will not allow a sweep test, treat the unit as untested and price your risk accordingly.