You are about to spend money on a used subwoofer. Maybe a single unit, maybe a truckload. The seller says it works. But in our line of business, 'works' can mean anything from 'perfect' to 'makes noise when powered on.' This guide is for buyers who need to verify condition, not listen to a sales pitch.
1. The Physical Inspection: Look Before You Listen
Start with the cabinet. Check for cracks, deep gouges, or swelling in the wood. Swelling often means water damage, which can ruin the internal structure and cause rattles you will never fix. Look at the corners and edges. A few scuffs are normal for touring gear, but structural cracks are a deal-breaker.
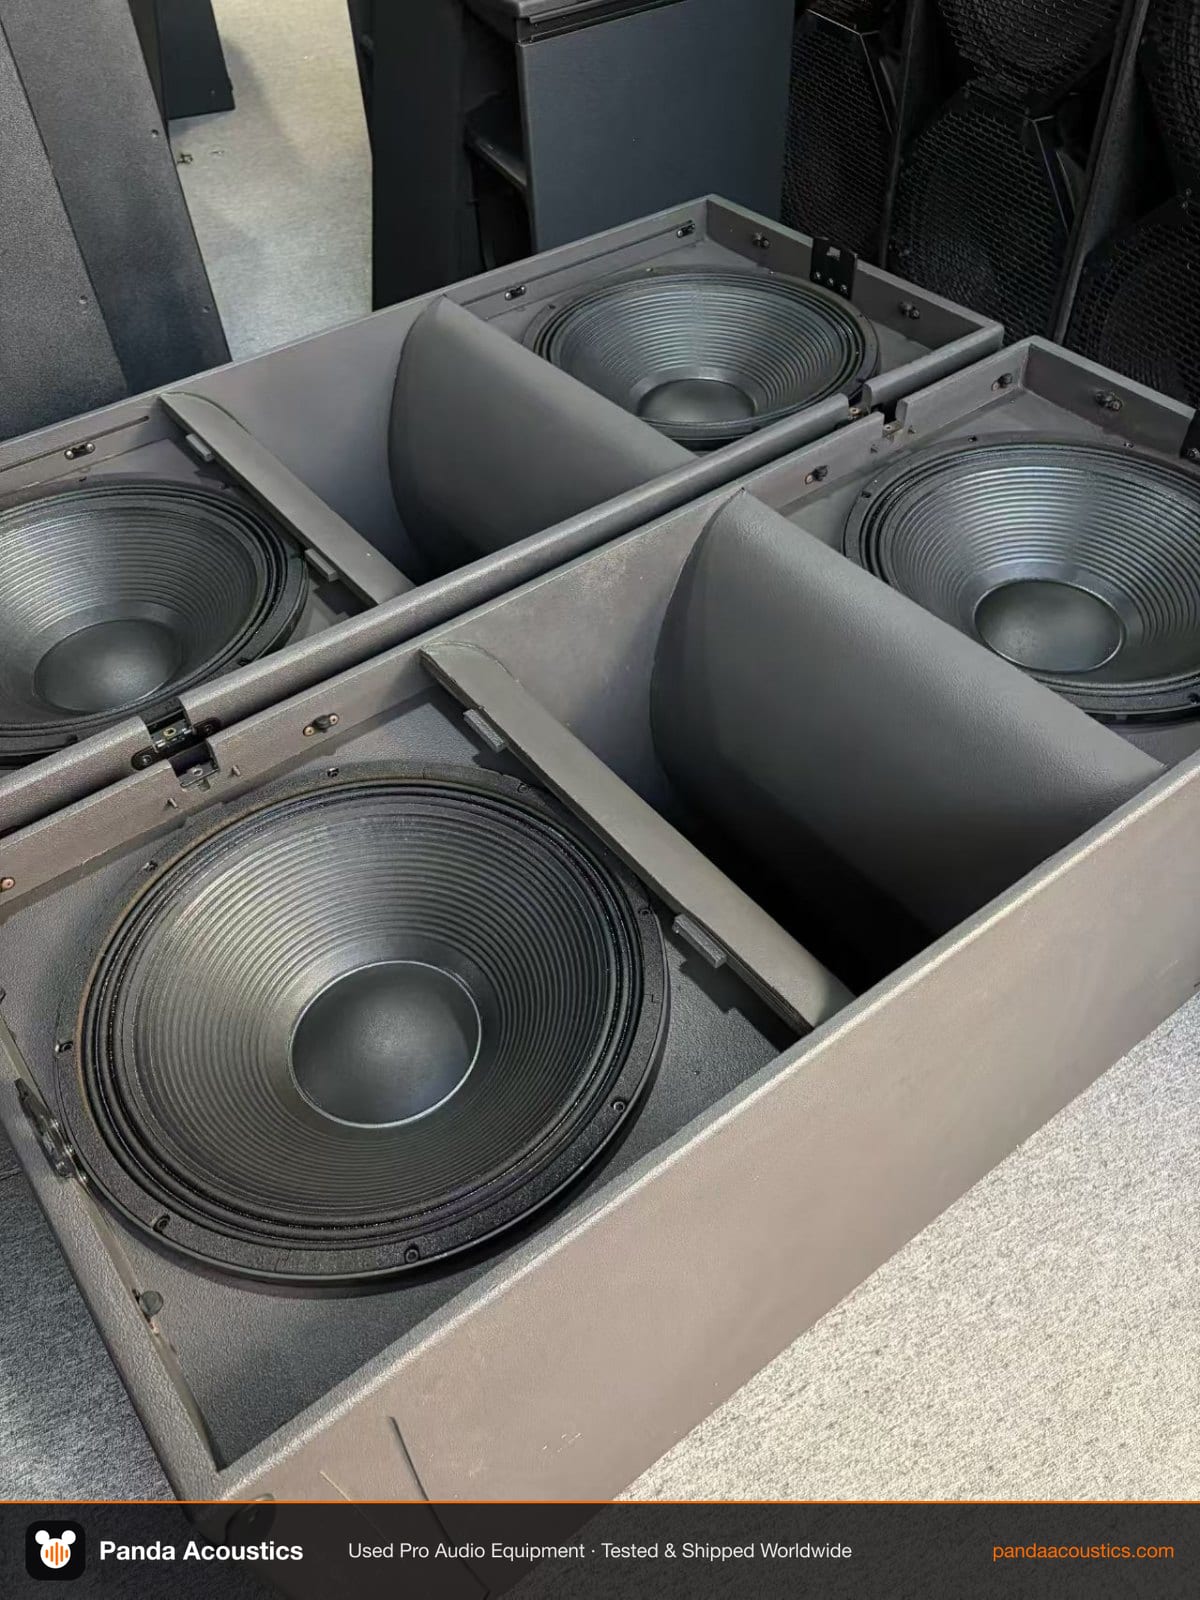
Remove the grille if possible. Inspect the cone. Look for tears, holes, or creases. A small crease in the cone can get worse over time. Check the surround (the foam or rubber ring that connects the cone to the frame). It should be supple, not dry or cracked. If the surround is foam and looks brittle, it will need replacing soon.
Push the cone gently with your fingers. It should move in and out smoothly without scraping. If you hear a scratching sound, the voice coil is rubbing. That is a serious problem. Also, check the spider (the corrugated material behind the cone). It should be intact and glued firmly.
2. The Listening Test: What to Play and What to Hear
You need a test track that covers a wide frequency range. A sine sweep from 20 Hz to 200 Hz is ideal, but if you do not have one, use a well-recorded track with deep bass and clear mid-bass. Avoid heavily compressed music; it hides problems.
Start at low volume. Listen for any buzzing, rattling, or scraping. These noises often come from loose parts, a damaged cone, or debris inside the cabinet. If you hear a rattle, gently press on different parts of the cabinet to see if it changes. If it does, the cabinet may need tightening, but if it persists, it could be internal damage.
Slowly increase the volume. The subwoofer should produce clean, distortion-free bass. If you hear popping or crackling, the voice coil may be damaged or the amplifier (if powered) may be clipping. Be careful not to overdrive it; you are testing, not doing a soundcheck.
Listen for a consistent output across the frequency range. A subwoofer that is loud at 50 Hz but weak at 30 Hz may have a problem with the suspension or the enclosure design. Use a test tone that sweeps slowly so you can hear any dips or peaks.
3. Checking the Voice Coil and Impedance
If you have a multimeter, measure the DC resistance of the voice coil. Disconnect the subwoofer from any amplifier first. Set the multimeter to the lowest resistance range. Touch the probes to the terminals. The reading should be slightly lower than the nominal impedance. For example, an 8-ohm subwoofer might read around 6 to 7 ohms. If you get a reading of 0 ohms, the coil is shorted. If you get infinite resistance, the coil is open. Both mean the subwoofer is dead.
Also, check for continuity between the voice coil and the frame. If there is any continuity, the coil is grounding out, which can damage your amplifier.
4. Testing the Enclosure and Ports
Inspect the ports (if it is a bass-reflex design). They should be free of obstructions and not cracked. A cracked port can cause chuffing noises at high volumes. Check the internal wiring if you can access it. Look for loose connections or signs of overheating.
Tap on the cabinet with your knuckles. A dull thud is good; a hollow ring may indicate loose internal bracing. If the cabinet has handles, check that they are secure and not cracked.
5. Powered Subwoofers: Testing the Amplifier
For powered subwoofers, you need to test the amplifier separately. Plug it in and check that the power LED lights up. Listen for any hum or buzz with no input signal. A slight hum may be normal, but a loud buzz indicates a problem with the power supply or grounding.
Connect a source and play the same test track. Adjust the gain and crossover controls. They should move smoothly without crackling. If the subwoofer has a phase switch, test it. If any control feels loose or scratchy, it may need cleaning or replacement.
Check the amplifier's heat sink after a few minutes of playing. It should be warm, not hot. If it gets very hot quickly, there may be a bias problem or a failing component.
6. When to Walk Away
Some defects are not worth the risk. If the cone is torn, the voice coil is rubbing, or the cabinet has major structural damage, walk away. Recone kits and replacement drivers can be expensive and may not match the original specifications. If the seller refuses to let you test the subwoofer, that is a red flag. A legitimate seller will have no problem with you verifying the condition.
Remember that used professional gear like the L-Acoustics KS28 is built to last, but only if it has been maintained. Testing is your only protection.
7. Final Thoughts
Testing a used subwoofer takes time, but it is time well spent. Bring a test track, a multimeter, and a flashlight. Be systematic. If you are buying multiple units, test each one individually. For more detailed checklists, see our used line array inspection checklist and used PA subwoofer buying guide.