Buying a used subwoofer is a gamble if you don't know what to look for. Whether you're a KTV operator, a touring sound company, or running a bar or club, a failed subwoofer can cost you a show. This guide covers the essential checks to perform before you spend money, with no marketing fluff.
1. Physical Inspection: The First Filter
Start with a thorough visual inspection. Look at the cabinet for cracks, deep gouges, or water damage. Water damage often shows as swollen MDF, rusted screws, or mold inside. Check the grille for dents and the handles for looseness. A subwoofer that has been dropped may have internal damage not visible from the outside.
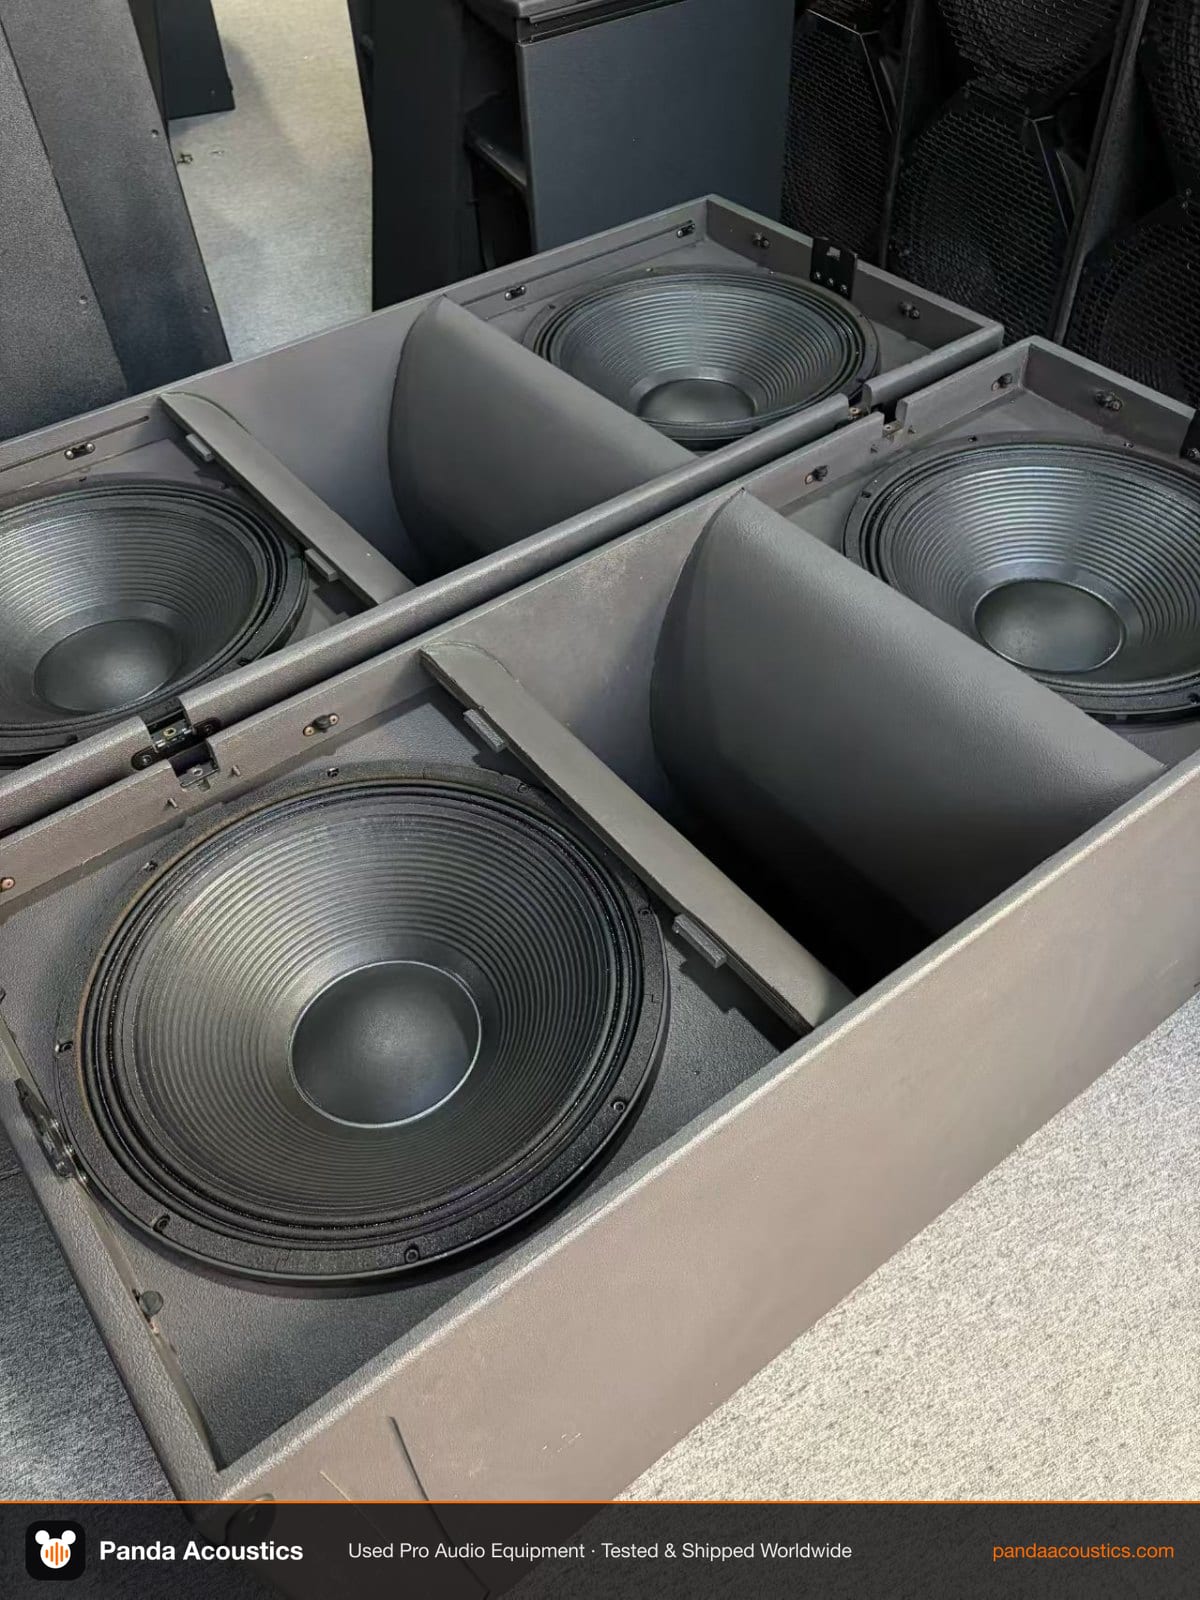
Remove the grille if possible and inspect the cone. Look for tears, creases, or signs of repair. The surround (the foam or rubber ring connecting the cone to the frame) should be pliable and intact. A hardened or cracked surround means the driver needs replacement. Also check the dust cap for dents or holes.
Inspect the terminals and connectors. Corrosion or loose binding posts can cause intermittent signal. If the subwoofer has a built-in amplifier, check the control panel for missing knobs or damaged inputs. For passive subwoofers, examine the speakON or binding post connectors for wear.
2. Impedance and DC Resistance Test
Use a multimeter to measure the DC resistance of the voice coil. Disconnect the subwoofer from any amplifier and set your multimeter to the lowest resistance range. Touch the probes to the terminals. A healthy 8-ohm subwoofer will typically read between 5.5 and 7.5 ohms DC resistance. A 4-ohm subwoofer will read around 3 to 4 ohms. If you get a reading far outside this range, or an open circuit (OL), the voice coil is likely damaged.
Also check for a short to the frame. Touch one probe to a terminal and the other to the metal frame. You should get no reading. If you get a reading, the voice coil is shorted to the frame, and the driver is unusable.
3. The Push Test: Checking for Rub and Coil Damage
Gently push the cone inward with your fingers, evenly around the dust cap. You should feel smooth resistance and hear no scraping or scratching sounds. If you hear a scraping noise, the voice coil is rubbing against the magnet gap, which indicates a warped former or debris in the gap. This will only get worse and will eventually cause failure.
Release the cone and watch it return. It should come back quickly and without any sticking. If it stays depressed or returns slowly, the spider may be sagging or damaged. This is common in subwoofers that have been stored in humid environments.
4. Signal Test: Sweep and Tone
Connect the subwoofer to a known-good amplifier and play a sine wave sweep from 20 Hz to 200 Hz at a moderate volume. Listen for any buzzing, rattling, or distortion that isn't present in the source signal. A clean subwoofer will reproduce the sweep smoothly. Any abnormal noise could indicate a loose part, a damaged cone, or a failing voice coil.
Next, play a few music tracks with strong, continuous bass. Pay attention to how the subwoofer handles low frequencies. If it bottoms out easily or produces a flapping sound, the suspension may be worn. Also check for thermal compression: after a few minutes of playback, touch the magnet (carefully, it may be hot). If it's excessively hot, the voice coil may be damaged or the subwoofer may be underpowered.
For a more precise test, use a test tone at the subwoofer's rated frequency range and measure the output with an SPL meter. Compare left and right units if you're buying a pair. A significant difference in output could indicate a problem.
5. Checking the Enclosure and Internal Components
If the subwoofer has a removable back panel, inspect the internal wiring and crossover (if present). Look for burnt components, loose connections, or signs of overheating. Check the internal bracing for cracks or separation. A poorly braced cabinet can cause unwanted resonance and reduce performance.
For subwoofers with built-in amplifiers, test all inputs and outputs. Check that the gain controls work smoothly without crackling. Listen for hum or noise with no signal input. A noisy amplifier can be a sign of failing capacitors or grounding issues.
6. When to Walk Away
If you find any of the following, it's usually best to walk away: a voice coil that reads open or shorted, a cone that scrapes when pushed, a surround that is cracked or hardened, or a cabinet with structural damage. Repairs can be costly and may not restore original performance. For professional use, reliability is critical.
If you're buying in volume, consider requesting a video of the subwoofer being tested with a sweep and music. A reputable seller will have no problem providing this. At Panda Acoustics, we test every used subwoofer before it ships, and we can provide test results on request. Browse our L-Acoustics KS28 and other used subwoofers to see what's available.
7. Final Thoughts
Testing a used subwoofer takes time, but it's far cheaper than buying a dud. Use these steps to protect your investment. If you're unsure, ask the seller for a return policy or warranty. And remember, a subwoofer that passes these tests is likely to serve you well for years to come.